
September 28, 2026
10 min read
Microblading Healing Stages Day by Day: Aftercare Guide from Geneva
Brows that look far too dark on day one, flake during the first week and then seem to vanish in the second: the microblading healing process takes almost everyone by surprise the first time. Yet every one of those stages is normal and predictable. Knowing what to expect day by day saves a lot of worry and, above all, prevents the habits that spoil a result. In this guide, the team at Beauty Art Pro in Geneva walks you through the microblading healing stages, the aftercare that protects your strokes, the warning signs to watch for, the touch-up and how long the result lasts.
Why microblading heals in stages
Microblading places pigment in the upper layers of the skin using a manual tool fitted with very fine needles, which draws strokes that mimic brow hairs. Each stroke is a tiny incision, so the skin treats it as a small wound and starts its usual repair process.
That repair process explains every colour change you are about to see:
- At first, some pigment still sits on the surface along with a little lymph fluid, so the brows look darker and bolder than the final result.
- During the first week, the skin surface closes and forms thin flakes, which carry away excess pigment as they fall.
- Next, a fresh layer of skin covers the strokes. While it is still slightly opaque, the colour looks veiled or even missing.
- Finally, the new skin clears and the pigment that has truly settled becomes visible again: this is your healed colour.
According to the salon, the darker colour of the first days softens by 30 to 40 percent over the first ten days. For a general introduction to the technique, see our microblading service page.
Everyone heals at their own pace
The stages below are a guide rather than a strict calendar. Several factors affect both healing and the final look:
- Skin type. Oily skin generally holds fine strokes less well and can blur them; the salon even offers a quarterly touch-up at 3 to 4 months for microblading on oily skin.
- Age and skin condition. Thin, mature or very sensitive skin behaves differently from younger, thicker skin.
- Lifestyle. Sun, intense exercise, smoking and exfoliating skincare all speed up pigment loss.
- Following the instructions. Scratching, getting the brows wet too early or putting makeup on them are the most common reasons for patchy results.
When to contact the salon or your doctor
Mild redness and slight swelling during the first 24 to 48 hours are normal. Contact the salon promptly, and see your doctor, if you notice:
- redness that spreads or gets worse after the second day;
- heat, increasing pain or significant swelling;
- yellowish discharge, thick crusts or an unusual smell;
- fever, or strong itching that does not settle.
It is also worth remembering that microblading is not suitable for everyone. Pregnancy and breastfeeding, certain skin conditions, and medication that slows healing or thins the blood are all reasons to speak to your doctor before booking.
Choosing the technique that will heal best on your skin
Good healing starts before the session, with the choice of technique. On dry to normal skin with a fair amount of hair, microblading produces crisp strokes that heal finely. On oily skin, or when the brows are very sparse, adding shading can hold better over time; that is the idea behind combo brows, which pair strokes with soft shading. Your consultation is there to make that decision with you.
The microblading session in brief
According to the booking page, a first microblading session takes about 2 hours.
- Consultation and mapping. The ideal shape is drawn to suit your facial structure and approved with you.
- Choosing the pigment. The shade is matched to your hair and skin tone. The salon uses REACH-compliant hybrid pigments, chosen so they do not turn red or grey.
- Numbing. A topical numbing cream is applied; most clients describe a light scratching feeling.
- Hand-drawn strokes. Strokes are created one by one in the direction your hair grows.
- Aftercare instructions and products. You leave with detailed guidance for the weeks ahead.
Your Sanctuary Awaits
Ready to Experience the Art?
“Secure your appointment today and join our community of elegant women in Geneva.”
Preparing your skin for better healing
What you do before the appointment matters almost as much as what you do after it:
- avoid alcohol the day before and, if your doctor agrees, blood-thinning painkillers;
- stay out of strong sun and sunbeds in the days beforehand;
- pause peels, scrubs and acid or retinol products on the forehead;
- do not pluck or tint your brows before the appointment;
- plan the following week without sauna, swimming or hard workouts.
Microblading healing stages, day by day
This is the most common pattern. Your skin may run a few days ahead or behind.
| Period | What you may notice | What to do |
|---|---|---|
| Days 1–2 | Dark colour, bold strokes, mild redness | Blot any lymph; apply the recommended balm in a very thin layer |
| Days 3–5 | Still dark, skin feels tight, light itching | Keep the area dry; do not scratch |
| Days 6–10 | Fine flakes lifting, patchy colour | Let flakes fall on their own; never pick |
| Days 11–21 | "Ghosting": pale, sometimes almost invisible strokes | Be patient; the colour comes back |
| Weeks 4–6 | Healed colour visible, defined strokes | Assess the result and have the touch-up |
Days 1 to 3: dark and sharp
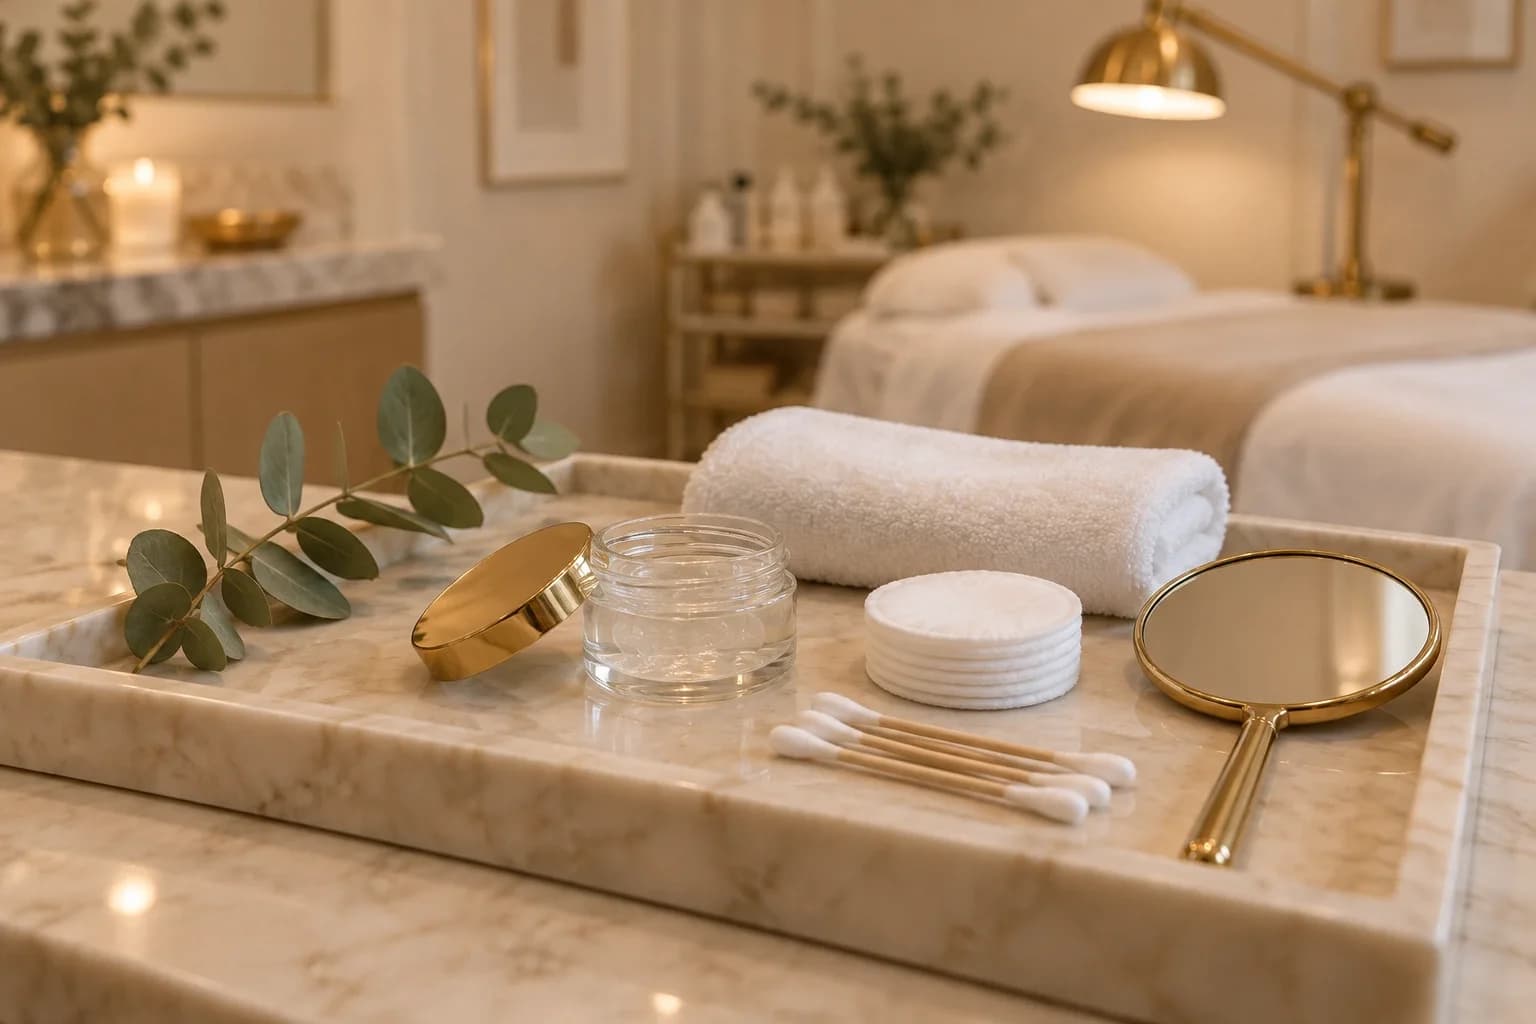
Straight after the session, your brows look darker and bolder than you expected. That is normal, as some pigment is still on the surface. The skin may release a little lymph, which you blot gently with a clean cotton pad. Redness usually settles within 24 to 48 hours.
Days 4 to 10: flaking
The skin closes over and forms thin flakes that gradually lift away. Itching is common. This is the most delicate stage: pulling off a flake removes the pigment underneath it and leaves a gap in the stroke.
Days 11 to 21: the ghosting phase
Once the flakes have gone, many clients believe the pigment "didn't take". In fact, a still-opaque layer of new skin is veiling the strokes. This stage passes on its own; nothing needs to be done.
Weeks 4 to 6: the healed colour
The colour reappears, softer and more natural than on day one. This is the right moment to judge the result and plan the touch-up.
Why one brow can heal differently from the other
It is very common for one brow to look slightly lighter, or to flake a few days later, than the other. Skin is rarely identical on both sides of the face: you may sleep more on one side, touch one brow more often, or have slightly oilier skin on one side of the forehead. As long as there is no sign of infection, uneven healing is not a cause for concern. Small differences in colour or density are exactly what the touch-up at 4 to 6 weeks is designed to correct.
Washing your face while the brows heal
You still need to cleanse your face during the first week. The simplest approach is to wash around the brows with a damp cloth or cleansing pad, keeping the pigmented area itself dry, and to rinse your hair with your head tilted back so shampoo and water run away from the forehead. Pat everything dry with a clean towel rather than rubbing. Once the flakes have fallen naturally, you can return to your normal routine, keeping exfoliating products away from the brows until healing is complete.
Microblading aftercare: the routine
Your written instructions always come first. The salon's general recommendations for pigmented brows are:
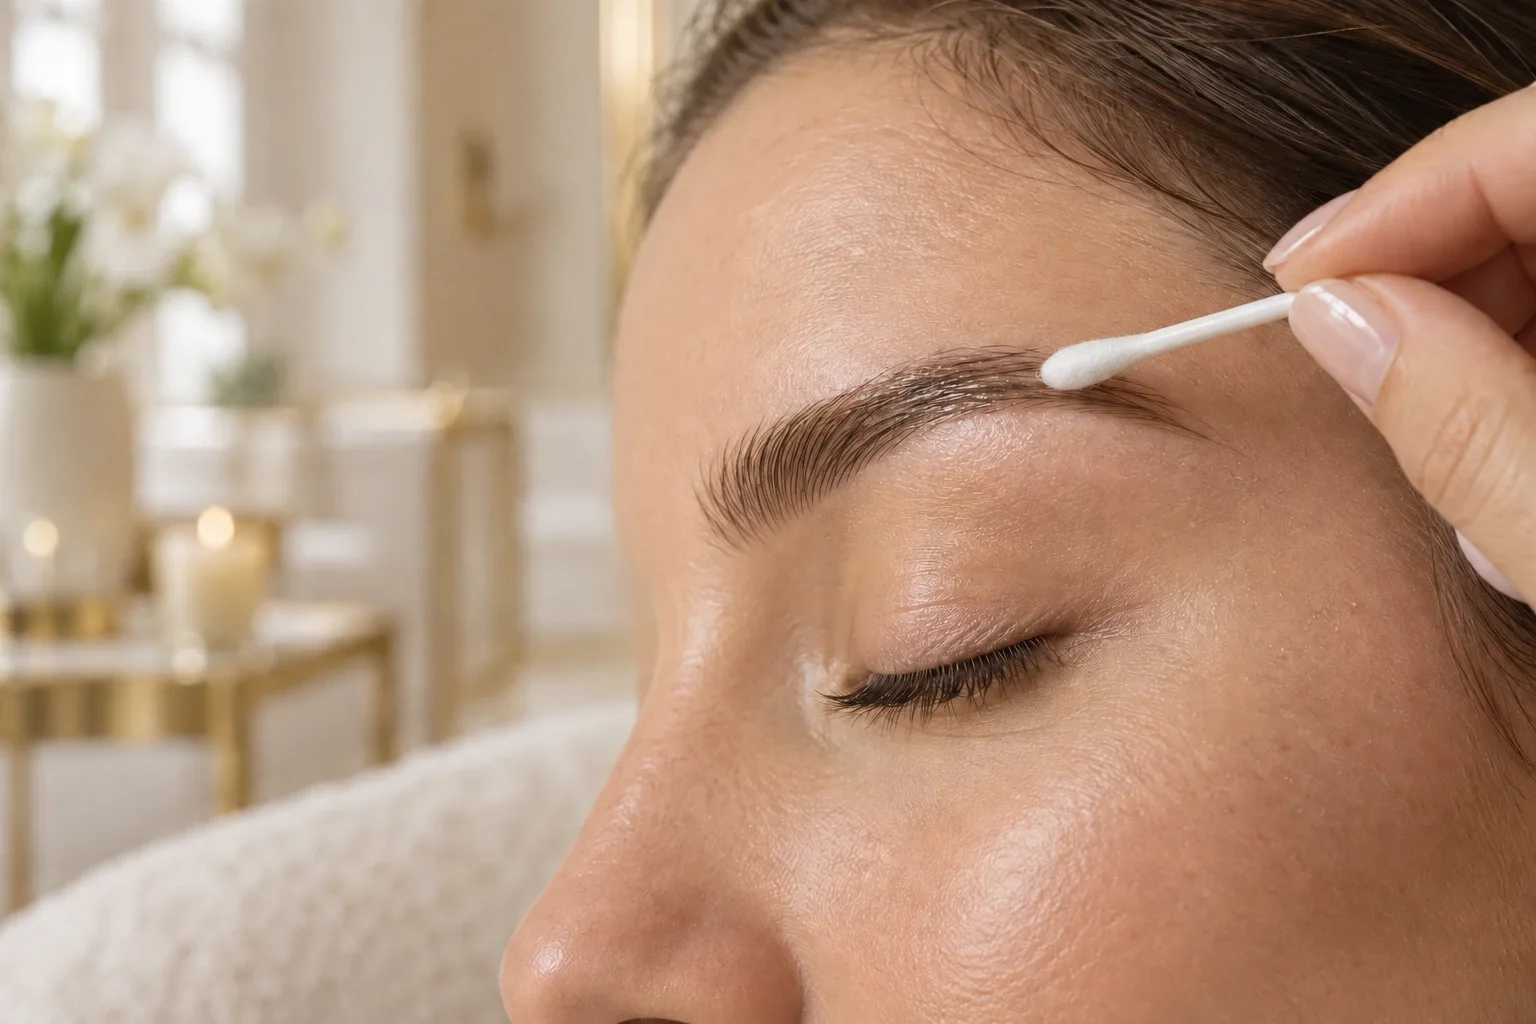
- keep the area dry for the first few days, with no direct shower spray on the brows;
- avoid heavy sweating, swimming pools, saunas and steam rooms for the first week;
- no makeup on the brows for at least 10 days;
- do not apply creams or facial skincare directly on the brows for a few days;
- keep the area out of the sun, then use sunscreen once the skin has healed;
- never scratch or pick the flakes;
- do not pluck hairs inside the pigmented area.
Sleeping on your back for the first nights and using a fresh pillowcase also help keep the area clean.
The mistakes that most often spoil a result
In practice, the same habits are behind almost every gap in the strokes or patchy colour:
- Too much balm. A thick layer suffocates the skin and can soften the strokes. A barely visible film is enough.
- Picking flakes. Even one flake pulled off too early can take the pigment of a whole stroke with it.
- Hot showers. Steam and water on the forehead soften the tiny scabs before they are ready to fall.
- Returning to sport too soon. Sweat is salty and can push out pigment that is still settling.
- Judging too early. Many clients panic during the ghosting phase and are tempted to draw their brows back in. Wait for healing to finish, then for the touch-up.
Makeup, exercise and sun: when can you go back?
Based on the salon's recommendations:
- Hard workouts, pools, saunas and steam rooms: not during the first week.
- Brow makeup: not for at least 10 days, until the surface has fully closed.
- Your usual skincare: fine on the rest of the face, but keep it off the brows for a few days; exfoliating actives wait until healing is complete.
- Sun: avoid it while healing, then protect the brows every day, because UV fades pigment faster.
If you are unsure about a specific activity, a quick message to the salon is better than a guess.
Touch-up, longevity and prices
The touch-up is an integral part of microblading. Done 4 to 6 weeks after the first session, once the colour has healed, it fills in any strokes that took less well and fine-tunes the shape and intensity. The salon also offers this touch-up as a package. The touch-up heals through the same stages, usually more discreetly, as fewer strokes are added.
According to the salon, microblading then lasts 12 to 18 months, depending on skin type and lifestyle, with a yearly refresh recommended to keep the strokes crisp. Current options and prices are listed below and on the service prices page.
ART
Healing compared: microblading, combo brows and ombré brows
| Microblading | Combo brows | Ombré brows | |
|---|---|---|---|
| Look in the first days | Dark, bold strokes | Dark strokes and strong shading | Dark, denser shading |
| Surface healing | About 7 to 10 days | About 7 to 10 days | About 7 to 10 days |
| Pale phase | Often noticeable on fine strokes | Mainly visible on the strokes | More subtle |
| First touch-up | 4 to 6 weeks | 4 to 6 weeks | 4 to 6 weeks |
| Oily skin | Shorter-lasting | A good compromise | Often the best fit |
Conclusion: start with a consultation
Microblading heals along a predictable path: dark, then flaky, then pale, and finally natural. Knowing those stages and following the aftercare are the two best guarantees of a beautiful result, completed by a touch-up at the right time.
If you are considering microblading in Geneva, the team at Beauty Art Pro, Rue Neuve-du-Molard 19, will guide you from the first consultation to the touch-up and remain available throughout healing. Read what clients say on our reviews page, or book your appointment.
Your Sanctuary Awaits
Ready to Experience the Art?
“Secure your appointment today and join our community of elegant women in Geneva.”